
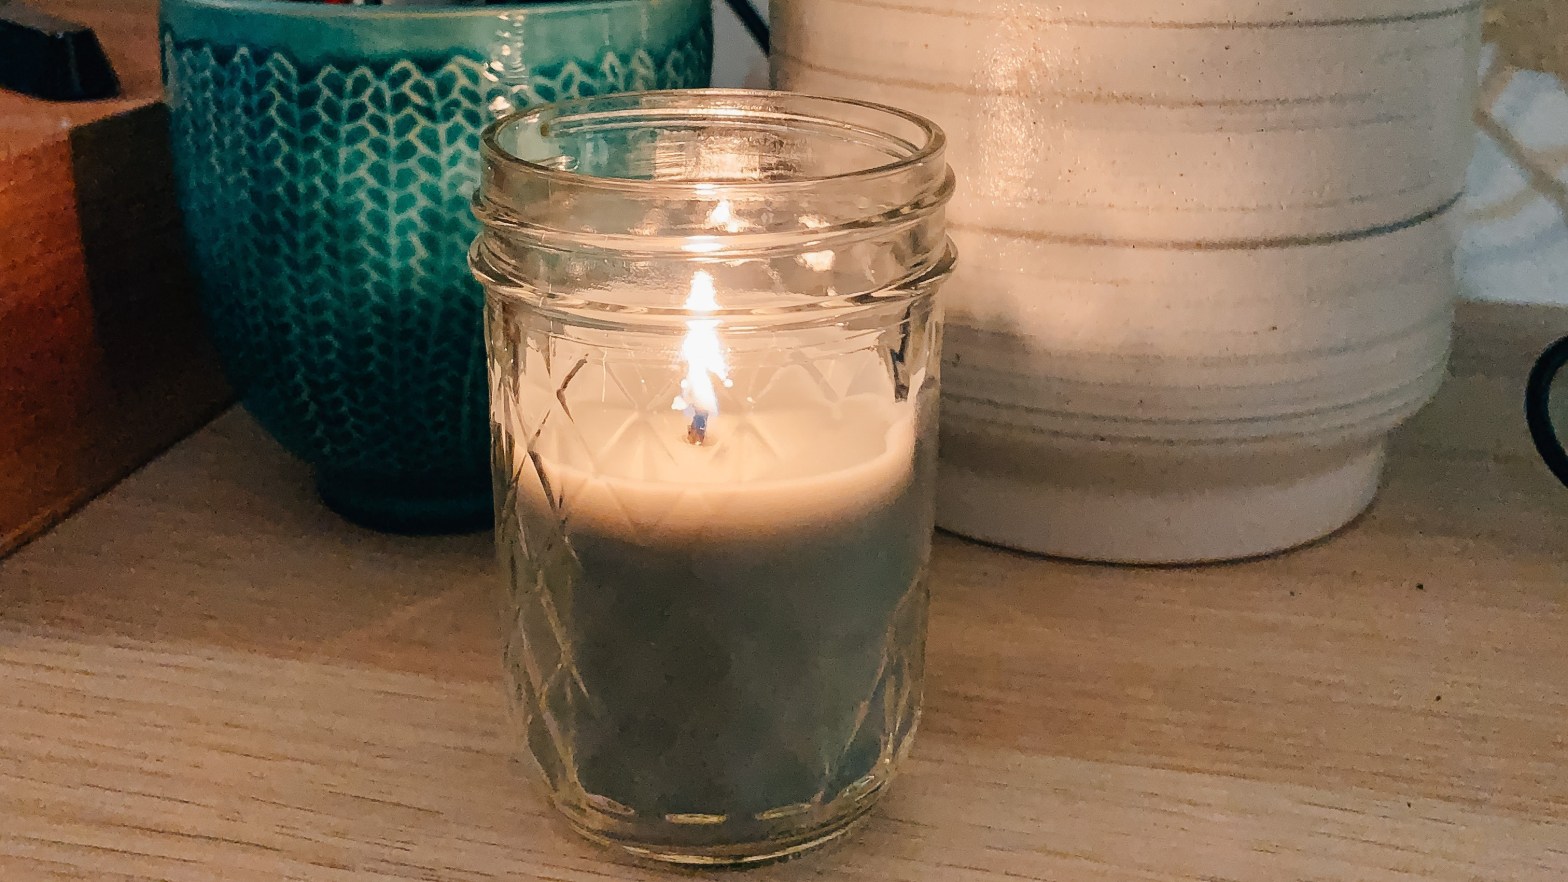
any of you addicted to bath & body works like me? anyone hit up the annual candle sale and buy too many? are you down to the very last bit of your candles, so much so that they won’t even light anymore? here’s the perfect way to keep the last of your candles from going to waste! (the best part is, your house smells AMAZING while doing it!)
supplies:
+ old, low candles
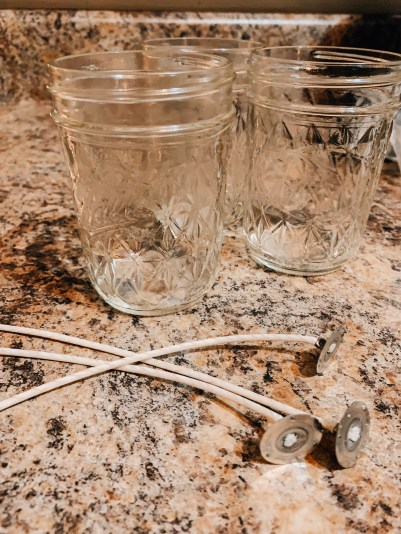
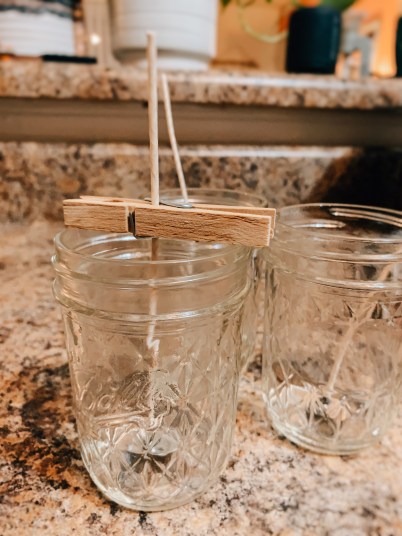
+ some sort of container/jar, could be mason jars, old jelly jars, empty tea lights, etc!
+ candle wicks
+ hot glue gun
+ scissors
+ a big pot
now, gather all of the candles. if you’re like me, you have multiples of your favorites. this is good! you can melt them all down into one container and get a good sized candle out of it! if you have some that are similar, maybe all tropical scents, you can combine them together. maybe you will create a concoction that you can’t live without!
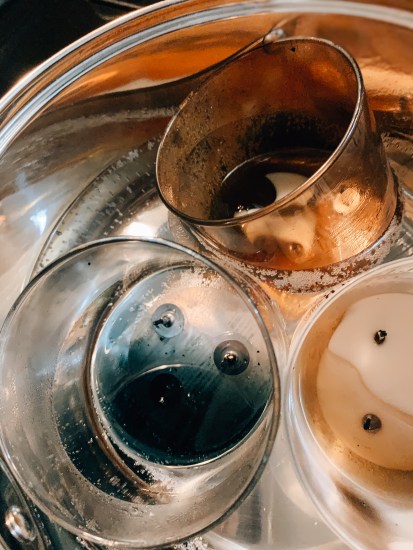
next, grab the large pot. put just enough water in it to fill above where your wax lines are. you don’t want water getting into the jars when you put them in the pot. let the jars come to temp with with the water so you don’t crack them.
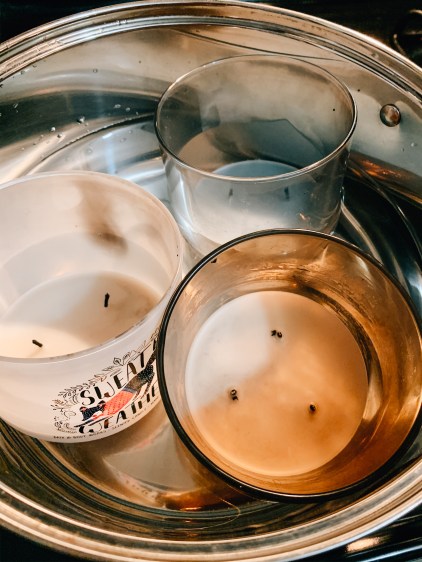
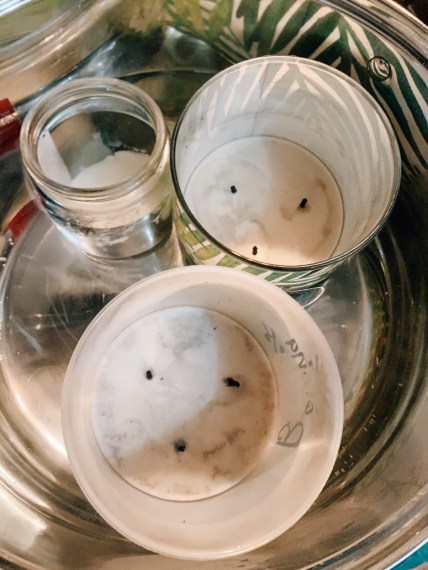
you will find that most jars will float, especially the large three wick candles. that’s okay! it’s better actually, that way the bottoms don’t stick to the pot. i didn’t have any issues with the labels being on them, but the small candle did sink to the bottom and rub off a little, but nothing that you can’t easily scrub off. you will only need to use medium heat to melt them, and it will only take about 5-10 minutes for them to melt, depending on how much wax is left in the jars.
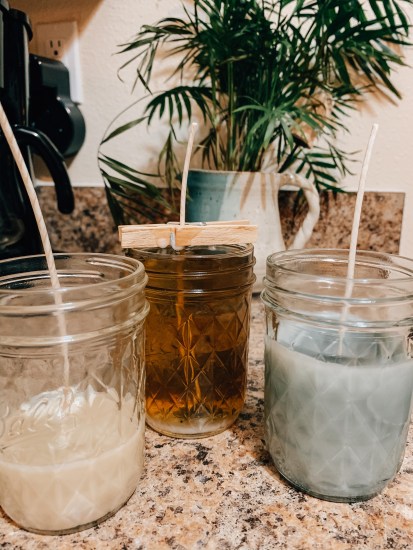
while your jars are warming up, prepare the new jars. use your hot glue gun to secure the wicks to the bottom of the jars. this will keep it in place as you pour. you can also use a pair of scissors or a clothespin to hold the wick in place in the center. (sometimes they fall over if not secured.)
once the wax has completely melted, grab the jar (using a pot holder!) and pour it into the prepared jars.
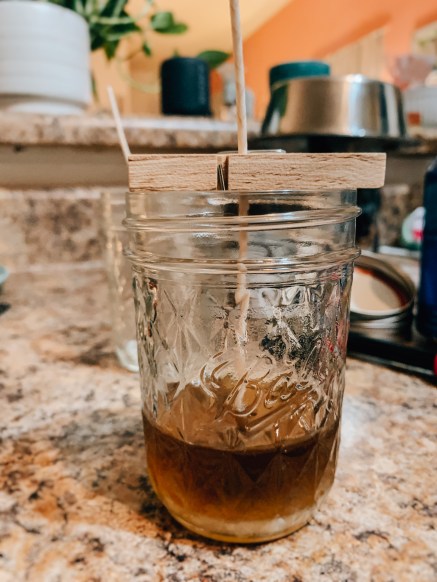
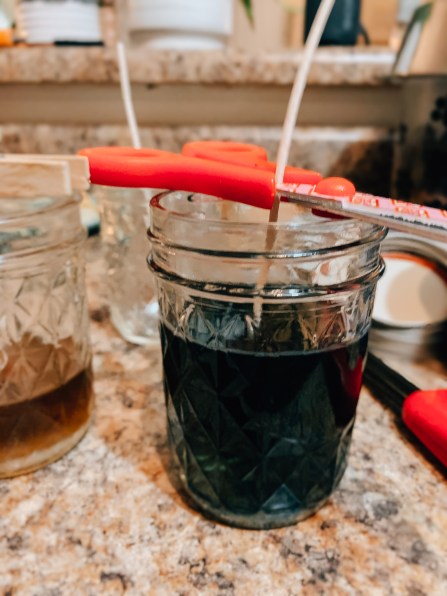
you will notice that as the wax cools, it will start to turn more of an opaque color. you will want to cool them completely, maybe even overnight, before lighting them to be sure the wax has settled. once it’s completely cooled, you can then cut down the wick to about 1/4″.
once cooled and trimmed, you can now enjoy your masterpiece! you will feel better about getting every bit of your money’s worth AND you could even use these as gifts! you could also create a colored, layered look by letting it cool in between pours.
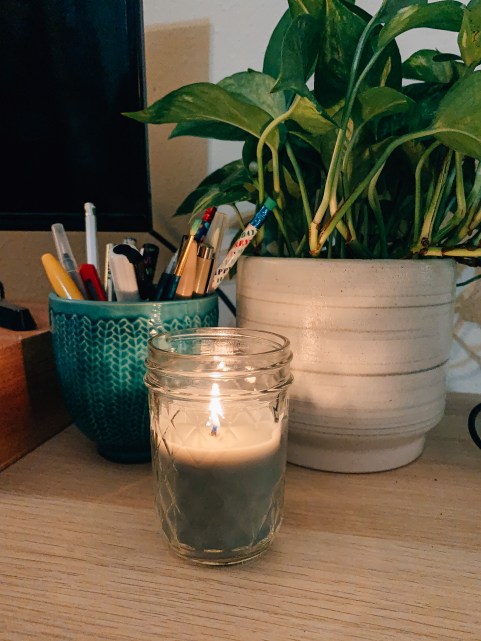
happy mood-setting! cheers!
-chels
